Difference between revisions of "InContext Server Installation"
(→Automated Installation Steps) |
|||
| Line 31: | Line 31: | ||
Incontext Server successfully installed. |
Incontext Server successfully installed. |
||
| + | == Running the InContext Server == |
||
| − | The InContext Server should be launched; browse to: '''<nowiki>http://yourserverurl:8081/incontext-server</nowiki>''' |
||
| + | |||
| + | To start the InContext Server: |
||
| + | $sudo systemctl start incontext-server |
||
| + | |||
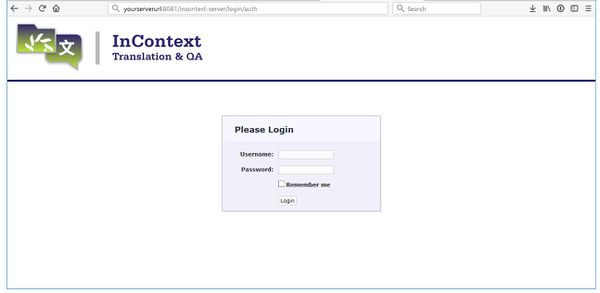
| + | Then browse to: '''<nowiki>http://yourserverurl:8081/incontext-server</nowiki>''' |
||
[[File:InContextServerLogin.jpg |600px]] |
[[File:InContextServerLogin.jpg |600px]] |
||
| + | |||
| + | |||
| + | To stop the InContext Server: |
||
| + | $sudo systemctl stop incontext-server |
||
| + | |||
| + | To check the status of the InContext Server: |
||
| + | $sudo systemctl status incontext-server |
||
== Next Steps == |
== Next Steps == |
||
Revision as of 17:40, 23 April 2019
Contents
InContext Server Installation Requirements
The InContext Server requires the following:
- Java 8
- MySQL 5.5.3+
Since the Lingoport Suite already requires Java and MySQL, the only additional requirement for the InContext Server is Tomcat. The InContext Server provided by Lingoport installs Tomcat 8.5.x.
InContext Server Files
There are three files that comprise the InContext Server. The Lingoport InContext Server automated installation process will put these files in the appropriate location.
- incontext-server.war
- incontext-server.sh
- IncontextServerConfig.groovy
The incontext-server.war is the server itself and must be placed under the tomcat/webapps directory.
The incontext-server.sh file is a script for starting/stopping the InContext Server and must be configured and placed in the tomcat directory.
The IncontextServerConfig.groovy file is the configuration file for the InContext Server and must be configured and placed in the tomcat directory.
Installation Steps
1. Download and unzip the IncontextServer-<version>.zip file from our SFTP site.
2. Change directory: cd incontext-server
3. Modify install.conf to set the values required by the install. Any information left blank will be prompted by the install script.
MYSQL_ROOT_PASS- this is the password that was used or created by the Stack Installer or Stack Updater.INCONTEXT_MYSQL_USER / INCONTEXT_MYSQL_PASS- this is a new MySQL username and password.INSTALL_TOMCAT_HERE='/usr/local/tomcat'- Unless there is reason to change the location, leave it at the default.
4. Run the install script (note you must have sudo privileges): ./install.sh. If it is successful, one should see:
Incontext Server successfully installed.
Running the InContext Server
To start the InContext Server:
$sudo systemctl start incontext-server
Then browse to: http://yourserverurl:8081/incontext-server
To stop the InContext Server:
$sudo systemctl stop incontext-server
To check the status of the InContext Server:
$sudo systemctl status incontext-server
Next Steps
For information on how to proceed after installation, please see the: InContext Server Users Guide
