Difference between revisions of "Localyzer Projects"
(→Creating a project in Jenkins) |
|||
| Line 30: | Line 30: | ||
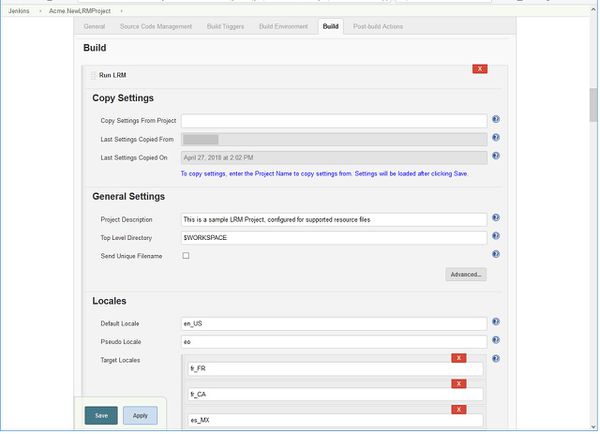
[[File:JenkinsLRMSettings.jpg |600px]] |
[[File:JenkinsLRMSettings.jpg |600px]] |
||
| + | |||
| + | |||
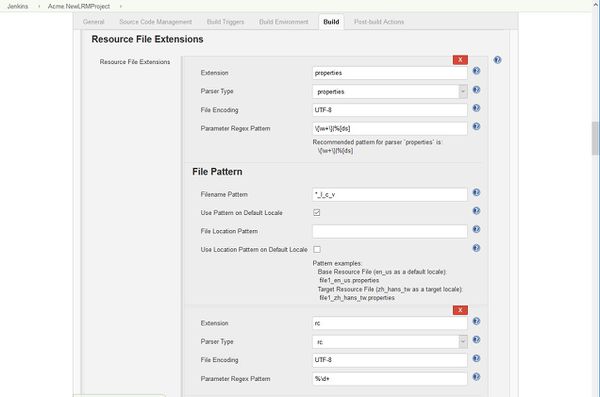
| + | [[File:JenkinsLRMResourceFileExtensions.jpg|600px]] |
||
Revision as of 21:29, 18 June 2019
Creating a project in Jenkins
New project
LRM creates projects using a Project Definition XML file that contains information about the resources and types for translation and then calling the Create Project Command.
This is automated in Jenkins with the Lingoport plugin.
To create a new project:
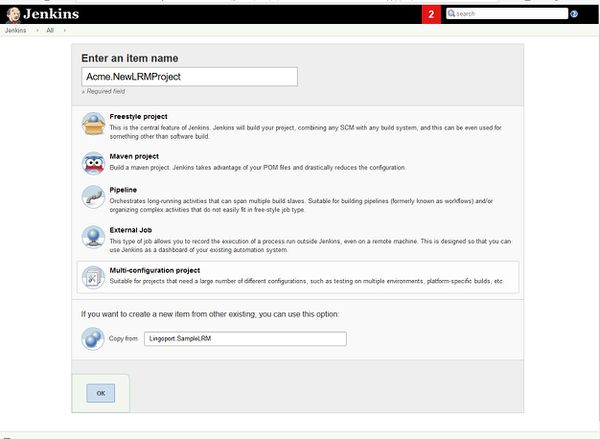
- Select New Item from the menu on the left
- In the dialog box, enter the name of the new project. The name must be of the form <group>.<project>, where the group is the name associated with the LRM license. If you are unsure about the group name, a Jenkins job called <group>.LicenseExpiration should have been created at installation. Use that <group> name.
- In the Copy from box, enter Lingoport.SampleLRM or LingoportSampleLiteLRM.
Note-a project can be created using either the project definition file directly on the command line or through the Jenkins LRM Plugin.
Configure the project
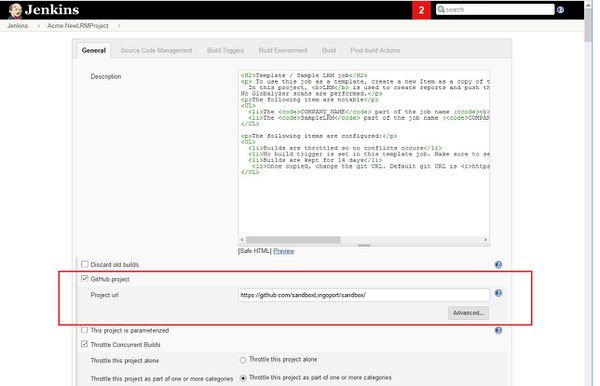
Set the git directory
Set the Project url to the URL for the GitHub repository with the code.
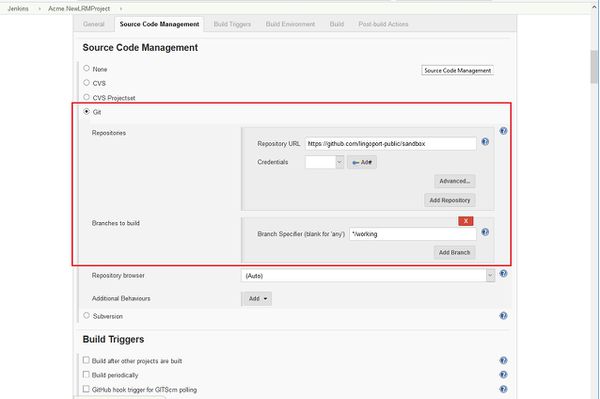
Set the repository info and the branch name for the code.
Set up the Git Repository and the branch
Make sure that the Repository URL and the Branch Specifier are correct.
