Difference between revisions of "Choose a Repository"
| (One intermediate revision by the same user not shown) | |||
| Line 14: | Line 14: | ||
[[Name The Project and Type |Step 3: Name the Project]] |
[[Name The Project and Type |Step 3: Name the Project]] |
||
| − | [[Data Source Credential for the project|<== Back ]] |
+ | [[Data Source Credential for the project|<== Back to Step 1: Data Source Credentials]] |
| − | ---- |
||
| − | |||
| − | [[Step by Step Project Creation |Step 1:Data Source Credential for the project]] |
||
| − | |||
| − | [[Choose a Repository|Step 2:Choose a Repository]] |
||
| − | |||
| − | [[Name The Project and Type |Step 3: Name the Project]] |
||
| − | |||
| − | [[Creating a Globalyzer Project |Creating a Globalyzer Project - Step 4: Globayzer Lite Definition File]] |
||
| − | |||
| − | [[Creating a Localyzer Project| Creating a Localyzer Project - Step 5: Which MT or TMS will Localyzer use ]] |
||
| − | |||
| − | [[What are the Localyzer locales| Step 6: What are the locales Localyzer is acting on? ]] |
||
| − | |||
| − | [[Resource File(s) Format| Step 7: Resource file formats]] |
||
| − | |||
| − | [[Include and Exclude Patterns|Step 8: Set up optional include or exclude patterns]] |
||
| − | |||
| − | [[Optional Localyzer Settings|Step 9: Optional Advanced Localyzer Settings]] |
||
| − | |||
| − | [[Grant Users and Teams Access | Step 10: Grant Users and Teams Access]] |
||
Latest revision as of 19:38, 5 September 2023
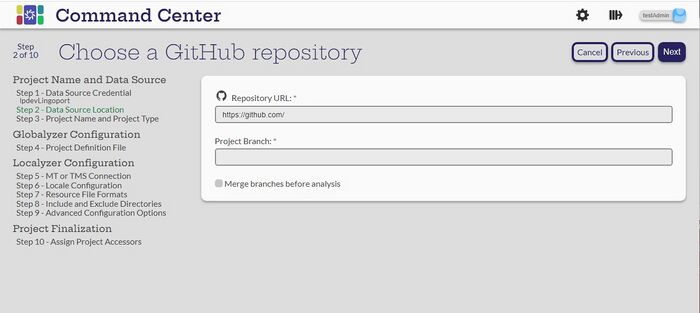
For this example, we are using the GitHub repository, but all Data Source types are similar. Enter the repository URL and the branch that is being used for the project.
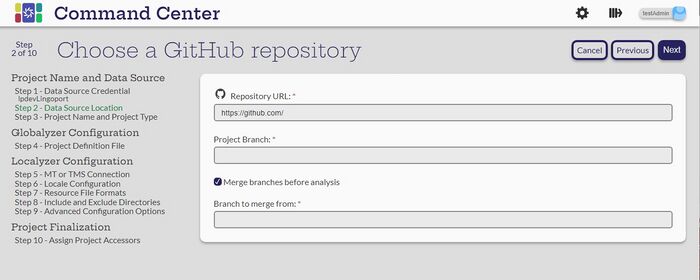
If the repository has branches that merge into the project branch, this can be specified.
Select Next
The repository and the branches must exist and the user associated with the data source credential must have permission to access the repository. If there are problems, Command Center will error with: Failed to clone project. Please check Data Source Settings.

