Difference between revisions of "System Files"
(→System File Types) |
|||
| Line 36: | Line 36: | ||
*pushfiles.sh |
*pushfiles.sh |
||
| − | == Debug Script == |
+ | === Debug Script === |
Command Center provides a way to run debug scripts to determine where things may be going wrong. |
Command Center provides a way to run debug scripts to determine where things may be going wrong. |
||
Revision as of 22:18, 16 February 2024
Introduction
System File Types
Globalyzer Lite File
The Globalyzer Lite File is the Project Definition file that identifies what ruleset will be used for the Globalyzer analysis. One file can be used by all the Globalyzer projects. The Globalyzer Lite File must be an XML file.
Custom Script
The Custom Script is used by Globalyzer to modify how the Globalyzer Scanning and reporting is done. The Custom Script should be a .sh file.
Transform Folder
The transform folder, used by Localyzer, contains scripts that modifies the resources from the repository or returning to the repository. For example, if a TMS does not support a specific extension, the transform script can create an acceptable file to send and change it back upon return. The transform folder must contain the following scripts:
- transform_to_repo.sh
- transform_from_repo.sh
- transform_files_list.sh
XML Parser File
XML Localyzer resource files can be in many forms. An XML Parser file identifies the form of the XML resource file.
Custom Data Source Folder
Command Center provides several Data Source options. Those options may not fit a specific configuration. A custom data source can be created for an unusual configuration. The new Custom Data Source will be listed in the options when selecting the data source for a project. Like the transform folder, the custom data source folder requires the following files:
- clone.sh
- pull.sh
- pushfiles.sh
Debug Script
Command Center provides a way to run debug scripts to determine where things may be going wrong.
Creating System Files
Select the ![]() to add a new system file.
to add a new system file.
Step 1: Select the data source
Step 2: Choose the repository
Step 3: Choose the file type and path
Step 4: Name the system file
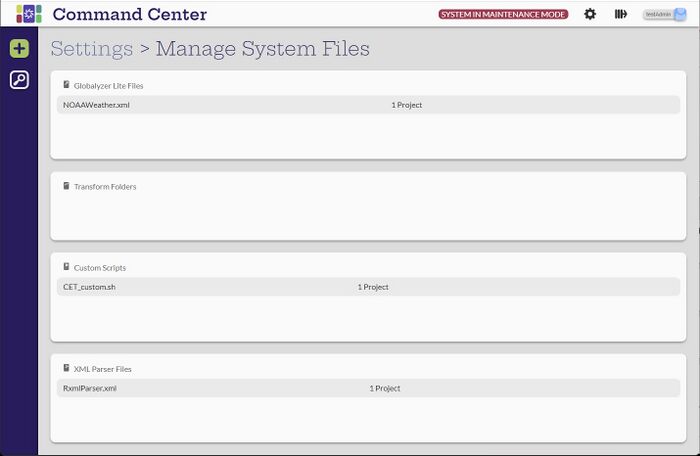
Finally, name the file and Save. The user is returned to the System Files page. The new file will be shown in the appropriate section. Initially, it will not be associated with a project. To associate a system file with a project:
- Indicate the file when creating the project
- Edit the configuration to add. Projects --> <an existing project> --> Project Configuration.
Editing System Files
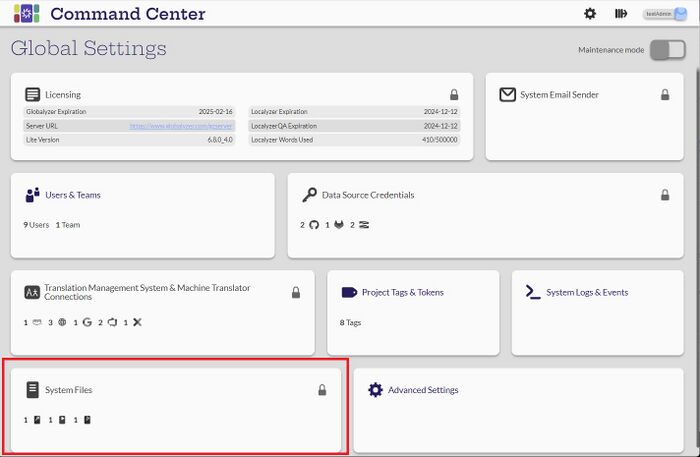
Only an Administrator user can add or edit System Files. A Manager can view the names of the files, but has no access. Other users cannot select the System Files card from Settings.
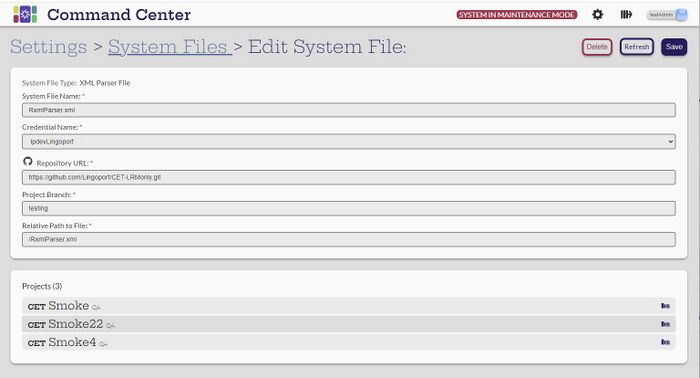
To edit a system file, hover over its entry in Settings -> Manage System Files and select the Edit button that appears.
- Select any of the values, modify them, and Save. If the Repository information does not exist, the system will error.
- System Files can be deleted, but they cannot be associated with projects. Edit the projects and remove the references to the file. Then Delete.


