Difference between revisions of "Azure DevOps Server (TFS) Data Source Credential"
(→Creating a project using an Azure data source credential) |
(→Creating a project using an Azure data source credential) |
||
| Line 22: | Line 22: | ||
The system should return to the '''Manage Data Source Credentials''' page with "Credential created" note and the new credential should be listed. |
The system should return to the '''Manage Data Source Credentials''' page with "Credential created" note and the new credential should be listed. |
||
| − | + | = Creating a project using an Azure data source credential = |
|
When creating a project with an Azure data source credential, the second step asks about the Repository URL: |
When creating a project with an Azure data source credential, the second step asks about the Repository URL: |
||
| Line 33: | Line 33: | ||
| − | + | Step 2: Choose an Azure repository |
|
[[File:CreateAzureProject.jpg|600px]] |
[[File:CreateAzureProject.jpg|600px]] |
||
Revision as of 17:04, 5 June 2024
Creating a Azure Repos Data Source Credential
[Administrator]
The Administrator can create the data source credentials by selecting the ![]() (Create new credential) button on the Manage Data Source Credentials page.
(Create new credential) button on the Manage Data Source Credentials page.
Select the Azure Repos card
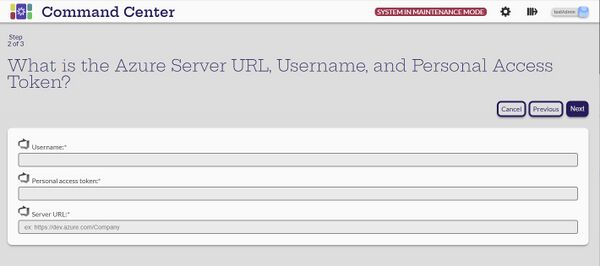
Enter a Username the the Personal access token.
- Also enter the Server URL
- Next
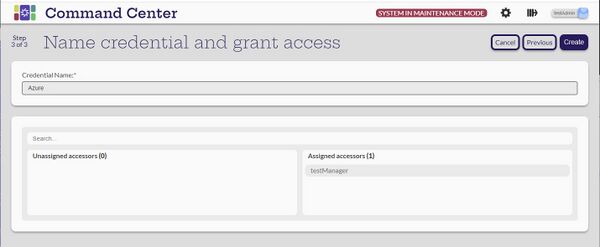
Give the new credential a name
- Assign it to applicable managers
- Create
The system should return to the Manage Data Source Credentials page with "Credential created" note and the new credential should be listed.
Creating a project using an Azure data source credential
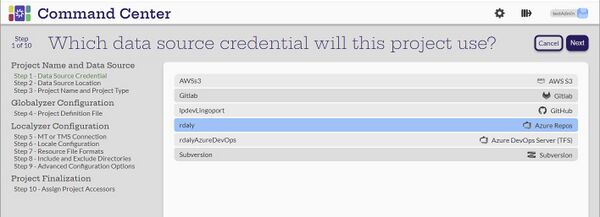
When creating a project with an Azure data source credential, the second step asks about the Repository URL:
Step 1: Select the Azure Repost data source
Next
Step 2: Choose an Azure repository
In Azure, in the project, when the project is cloned, the resulting URL looks like: https://username@dev.azure.com/user/ACME.project/_git/proj. In Command Center, for the URL, remove the username: https://dev.azure.com/user/ACME.project/_git/proj.
Next
Now continue with the Step-by-step instructions.


